
The Astonishing 3-Minute Microwave Brownie: A Chef’s Secret Weapon
There are moments in a chef’s life when the craving for something deeply chocolatey, rich, and utterly decadent strikes with an almost primal force. I remember one particularly harried evening, midway through a demanding service, when the scent of baking brownies from a neighboring bakery wafted through the kitchen. My stomach rumbled, but the thought of meticulously measuring, mixing, and baking a full batch seemed like an insurmountable task amidst the chaos. It was then, in a moment of desperation and culinary curiosity, that I stumbled upon the magic of the 3-Minute Microwave Brownie. This isn’t just a recipe; it’s a culinary lifeline, a testament to how innovation can deliver pure joy in mere minutes. The surprise isn’t just its speed, but the genuinely satisfying fudgy texture it achieves, proving that sometimes, the most extraordinary results come from the simplest, most unexpected places.
Recipe Overview
- Prep Time: 1 minute
- Cook Time: 3-5 minutes
- Total Time: 4-6 minutes
- Servings: 1-2
- Yield: 1 small brownie
- Dietary Type: Not specified (standard ingredients)
Ingredients
Gather your essentials for this lightning-fast treat. The beauty of this recipe lies in its minimal ingredient list, often using pantry staples you likely have on hand.
- 1 large egg
- 1 cup granulated sugar
- 1/2 teaspoon salt
- 1 teaspoon vanilla extract
- 1/2 cup butter, melted
- 3/4 cup all-purpose flour
- 1/2 cup unsweetened cocoa powder
Equipment Needed
You won’t need a battalion of kitchen gadgets for this one. The focus is on speed and simplicity.
- A microwave-safe dish: An 8×8 inch dish or a round cake pan are ideal. The size of your dish will directly impact the microwave time, so keep this in mind.
- A mixer (handheld or stand mixer, or even a sturdy whisk and some elbow grease)
- A spatula for scraping down the bowl.
Instructions
This is where the magic happens. Follow these steps precisely for a brownie experience that defies its remarkably short preparation and cooking time.
- Whip the Eggs: In a medium bowl, beat the egg(s) until they become light in color and airy. This process should take approximately 1 minute on high speed if using an electric mixer. This initial aeration helps create a lighter texture in the finished brownie.
- Sweeten and Season: Beat in the granulated sugar and salt until well combined. This is followed by adding the vanilla extract. Give it another quick mix to ensure everything is evenly distributed.
- Incorporate the Fat: Gently mix in the melted butter. Ensure it’s fully incorporated before moving to the next step. The melted butter is crucial for that characteristic fudgy texture.
- Add the Dry Ingredients: Now, it’s time for the dry components. Add the unsweetened cocoa powder and the all-purpose flour to the wet ingredients. It’s best to use the low speed on your mixer for this stage. Mix just until the flour and cocoa are incorporated and you no longer see streaks of dry ingredients. Overmixing at this point can lead to a tough brownie.
- Prepare for the Microwave: Pour the batter into your chosen microwave-safe dish. As mentioned, the size of the dish is important; an 8×8 inch or a round cake pan are common choices. Be aware that the microwave cooking time will depend on the specific dish you use, as well as the wattage of your microwave.
- Microwave to Perfection: Place the dish in your microwave. It’s highly recommended to use a turntable, if your microwave has one, as this ensures more even cooking. Microwave on high power for 3 to 5 minutes.
- The Crucial Doneness Test: This is the most critical step to avoid a dry, overcooked brownie. You are aiming for a brownie that is just cooked. Do not let the center get totally dry, as it will continue to cook as it cools. I personally took mine out when there was just a small, moist spot in the center. However, in reflection, I believe next time I will probably let it bake for maybe 10 seconds less than that to achieve an even fudgier texture. It finishes cooking as it cools, a phenomenon known as carryover cooking.
- Cooling and Finishing: Allow the brownie to cool in the dish. Once sufficiently cooled, you can cut it into portions. You can absolutely frost it if you like, but personally, I prefer my brownies unfrosted to truly appreciate the intense chocolate flavor and fudgy texture achieved in such a short time.
Expert Tips & Tricks
As a chef, I’ve learned that even the simplest recipes can benefit from a few insider tips. While this recipe is remarkably straightforward, a few adjustments can elevate it from good to glorious.
- Butter Quality Matters: Use good quality butter. The subtle notes in high-quality butter will translate into a richer flavor in your brownie.
- Don’t Over-Scrape: When adding the dry ingredients, scrape down the sides of the bowl to ensure everything is incorporated, but avoid over-scraping the bottom where some of the wet ingredients might have settled. This helps maintain a good batter consistency.
- Microwave Wattage Variance: Every microwave is different! The 3-5 minute range is a guideline. The first time you make these, stay vigilant and check the brownie after 2.5 minutes. You can always add 15-30 second intervals until it reaches your desired doneness.
- Carryover Cooking is Key: I can’t stress this enough – under-baking slightly is better than over-baking. The residual heat will continue to cook the brownie. If you see no moist spots, you’ve likely gone too far.
- Cocoa Powder Choice: While standard unsweetened cocoa powder works perfectly, consider using a Dutch-processed cocoa for a darker color and a smoother, less acidic flavor.
Serving & Storage Suggestions
The beauty of the 3-Minute Microwave Brownie is its instant gratification. Serve it warm, straight from the dish, for the ultimate fudgy experience.
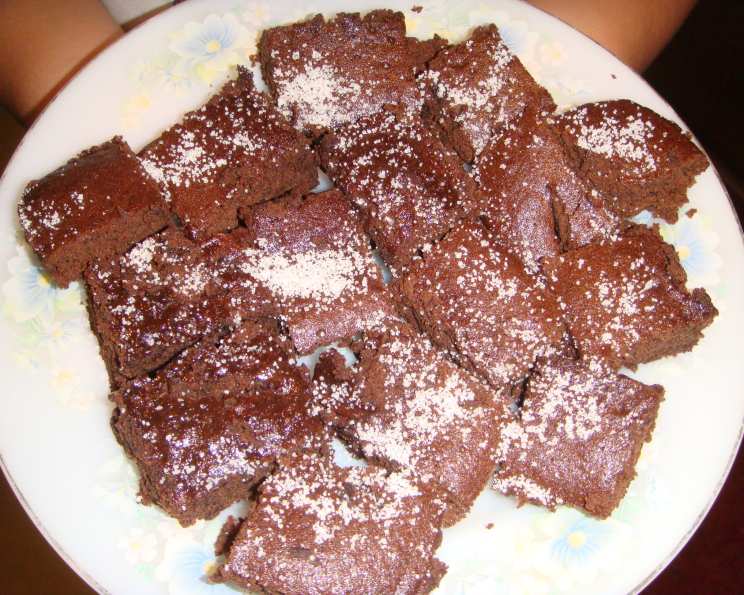
- Serving: This brownie is best served warm, perhaps with a scoop of vanilla ice cream or a dollop of whipped cream. A dusting of powdered sugar or a drizzle of chocolate sauce can add a touch of elegance.
- Storage: Due to its microwave preparation and high moisture content, these brownies are best enjoyed fresh. If you do have leftovers, store them in an airtight container at room temperature for up to 2 days. They will become denser and chewier as they cool. Refrigerating will dry them out more quickly. Reheating in the microwave for a mere 10-15 seconds can revive some of their fudginess, but they are truly at their best when freshly made.
Nutritional Information
Here’s a look at the estimated nutritional breakdown for one serving of this incredibly quick brownie. Please note these are approximations and can vary based on ingredient brands and exact measurements.
| Nutrient | Amount per Serving | % Daily Value |
|---|---|---|
| Calories | 140.3 kcal | – |
| Calories from Fat | – | 59% |
| Total Fat | 6.7 g | 10% |
| Saturated Fat | 3.9 g | 19% |
| Cholesterol | 38.5 mg | 12% |
| Sodium | 132.5 mg | 5% |
| Total Carbohydrate | 18.6 g | 6% |
| Dietary Fiber | 0.7 g | 2% |
| Sugars | 12.6 g | 50% |
| Protein | 1.9 g | 3% |
(Note: The original data provided a somewhat fragmented structure for calories from fat. This table attempts to present the information logically based on common nutritional reporting.)
Variations & Substitutions
While this recipe is a star in its simplicity, there’s always room for personalization.
- Chocolate Chips: Fold in a tablespoon or two of chocolate chips (milk, dark, or white) into the batter just before microwaving for an extra burst of chocolatey goodness.
- Nutty Crunch: Add a tablespoon of finely chopped nuts like walnuts or pecans for added texture and flavor.
- Espresso Boost: Dissolve 1/2 teaspoon of instant espresso powder into the melted butter to intensify the chocolate flavor.
- Peanut Butter Swirl: Dollop a spoonful of peanut butter into the batter and swirl it gently with a toothpick before microwaving.
FAQs
Q: Can I make this recipe without a microwave?
A: This recipe is specifically designed for microwave cooking. Attempting to bake it in a conventional oven would require a completely different approach to ingredients, measurements, and cooking times, and would likely not yield the same fudgy result.
Q: My brownie came out dry. What did I do wrong?
A: The most common culprit for a dry brownie is overcooking. Be very attentive to the carryover cooking. Aim for a slightly moist center, and it will firm up as it cools.
Q: Can I double this recipe?
A: Doubling this recipe is not recommended for microwave cooking, as it would significantly alter the cooking time and likely result in uneven cooking or overcooking. It’s best to make individual servings.
Q: Is this recipe suitable for children to make?
A: With adult supervision, especially when handling melted butter and using the microwave, this recipe is a fantastic and fun way for children to experience making a quick dessert.
Q: What’s the best way to get a truly fudgy texture?
A: The key is not to overcook it. Pulling it out when there’s a slight moistness in the center is crucial. The ingredients themselves, particularly the butter and egg ratio, also contribute to its fudgy nature.
Final Thoughts
In the fast-paced world of professional kitchens and busy home lives, the 3-Minute Microwave Brownie stands as a beacon of quick, satisfying indulgence. It’s proof that you don’t need hours of prep and baking to achieve a truly delightful chocolate treat. This recipe is a testament to the power of simple ingredients and smart techniques. So, the next time a chocolate craving hits with urgency, remember this little miracle. Whip it up, savor it warm, and enjoy the pure, unadulterated joy of a perfectly fudgy brownie, conjured in mere minutes. It’s a small wonder, but one that’s sure to bring a big smile.