
A Taste of Nostalgia: My Fat-Free Cherry Cobbler Journey
There are some desserts that just hug you from the inside, conjuring up memories of simpler times and warm kitchens. For me, that dessert is a classic cobbler, and this Fat-Free Cherry Cobbler is a revelation. I remember a time when enjoying such a comforting treat felt like a distant dream, especially when trying to maintain a healthier lifestyle. The idea of a rich, bubbling fruit filling topped with a tender, cake-like crust seemed inherently indulgent. But then, this recipe emerged, proving that you don’t need to sacrifice flavor or texture for something that feels lighter. It’s a testament to smart ingredient choices and a reminder that sometimes, the most delightful culinary experiences come from unexpected places.
Recipe Overview
- Prep Time: 15 minutes
- Cook Time: 45 minutes
- Total Time: 60 minutes
- Servings: 6
- Yield: 1 (9-inch square pan)
- Dietary Type: Fat-Free, Diabetic-Friendly Option
Ingredients
This recipe relies on a few pantry staples and the magic of canned cherries to deliver a quick and satisfying dessert.
- 2 (16-ounce) cans cherries, packed in water (do not drain all the liquid!)
- ½ cup self-rising flour
- ¼ cup sugar (or a sugar substitute like Splenda for a diabetic-friendly version)
- ⅔ cup milk (I prefer to use 1% milk for this recipe, but any milk will work)
Equipment Needed
You won’t need a whole arsenal of fancy tools for this straightforward dessert.
- 9-inch square baking pan
- Medium mixing bowl
- Whisk or fork
- Measuring cups and spoons
- Oven
Instructions
Crafting this delightful cobbler is incredibly simple, making it perfect for weeknight treats or last-minute desserts.
- Preheat your oven to 350 degrees Fahrenheit (175 degrees Celsius). This ensures your oven is ready to go as soon as your cobbler is assembled.
- Prepare the cherry filling. Open the cans of cherries. You will need to use 2 (16-ounce) cans of cherries, packed in water. Carefully pour the cherries and 1/3 of the cherry liquid into your 9-inch square baking pan. The reserved liquid is key to creating a luscious, syrupy base for the fruit.
- In a medium bowl, combine the dry ingredients for the topping. Add the ½ cup of self-rising flour and the ¼ cup of sugar (or your chosen sweetener).
- Gradually add the milk. Pour in the ⅔ cup of milk (I use 1% milk).
- Mix the batter. Stir the flour, sugar, and milk together until just combined. A few small lumps are perfectly fine; overmixing can lead to a tough topping. The batter should be thick but pourable.
- Assemble the cobbler. Gently pour the batter directly over the cherries and their liquid in the baking pan. Do not stir or spread the batter; it will naturally spread and cook into a tender, cake-like topping during baking.
- Bake uncovered. Place the pan in the preheated oven and bake uncovered for 45 minutes. Keep an eye on it towards the end of the baking time. You’re looking for the topping to be golden brown and for the fruit filling to be bubbly and slightly thickened.
- Cool and serve. Once baked, remove the cobbler from the oven and let it cool slightly. It’s best served warm.
Expert Tips & Tricks
A few chef-inspired insights can elevate this already wonderful dessert.
- Cherry Quality Matters: While canned cherries are convenient and work beautifully here, if you have access to fresh or frozen cherries, you can use them. You’ll want about 4 cups of fruit. If using frozen, don’t thaw them completely; a slight chill is fine. You’ll also need to add about ½ cup of water or cherry juice to the pan to compensate for the liquid that would have been in the cans.
- The Self-Rising Flour Advantage: Self-rising flour contains leavening agents (baking powder and salt), which simplifies the recipe and ensures a light, airy topping. If you don’t have self-rising flour, you can make your own by whisking together 1 cup of all-purpose flour with 1 ½ teaspoons of baking powder and ¼ teaspoon of salt. For this recipe, you would need to make about 1 ¼ cups of this homemade self-rising flour mixture (adjusting slightly for the ½ cup needed).
- Don’t Fear the “Scrape”: When you pour the batter over the cherries, don’t worry if it doesn’t cover everything perfectly. The batter will puff up and expand as it bakes, creating that delightful cobbler topping that drapes over the fruit.
- Sugar Adjustment: The amount of sugar can be adjusted to your preference or dietary needs. As mentioned, Splenda or another granulated sugar substitute works wonderfully to make this diabetic-friendly.
Serving & Storage Suggestions
This Fat-Free Cherry Cobbler is wonderfully versatile in how it can be enjoyed.
Serve this warm cobbler directly from the pan. It’s absolutely delightful on its own, but for an extra treat, consider topping it with a dollop of Cool Whip Lite, fat-free vanilla ice cream, or frozen vanilla yogurt. The contrast of the warm, tender fruit and crust with a cold, creamy topping is simply divine.
Leftovers can be stored in an airtight container in the refrigerator for up to 3 days. To reheat, you can gently warm individual portions in the microwave or place the entire pan (if it’s oven-safe) back into a low oven (around 300°F/150°C) for about 10-15 minutes until warmed through. I don’t recommend freezing this cobbler as the texture of the topping can change significantly.
Nutritional Information
Here’s an approximate nutritional breakdown for this delicious, lighter cobbler.
| Nutrient | Amount per Serving | % Daily Value (approx.) |
|---|---|---|
| Calories | 181.7 kcal | (Varies) |
| Total Fat | 1.4 g | 2% |
| Saturated Fat | 0.7 g | 3% |
| Cholesterol | 3.8 mg | 1% |
| Sodium | 145.7 mg | 6% |
| Total Carbohydrate | 41.5 g | 13% |
| Dietary Fiber | 3.5 g | 13% |
| Total Sugars | 27.7 g | 110% (Note: can be reduced with sugar substitute) |
| Protein | 3.5 g | 7% |
Nutritional values are estimates and can vary based on specific ingredients used, especially milk type and any added sugar substitutes.
Variations & Substitutions
While cherries are the star here, feel free to experiment with other fruits!
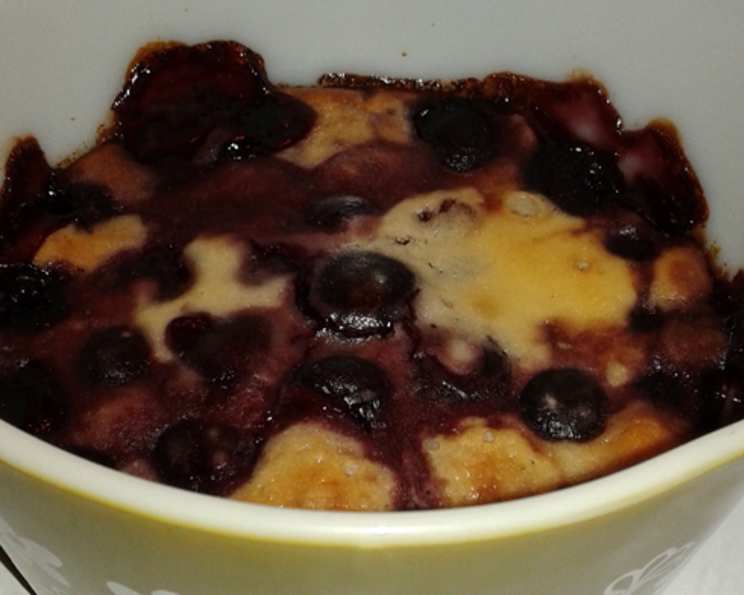
- Berry Delight: Swap the cherries for a mix of berries such as blueberries, raspberries, and blackberries. You might need to adjust the sugar slightly depending on the sweetness of your berries.
- Peachy Keen: Canned or fresh peaches (sliced) can make a wonderful peach cobbler. Ensure they are packed in water or their own juice.
- Apples and Spice: While not a direct swap for canned fruit, you could adapt this concept with sliced apples, adding a touch of cinnamon and nutmeg to the fruit layer for an apple cobbler variation. You’d likely need to add a bit more liquid if the apples aren’t juicy enough.
FAQs
Q: Can I use frozen cherries instead of canned?
A: Yes, you can use frozen cherries. You’ll need approximately 4 cups of frozen cherries and should add about ½ cup of water or cherry juice to the pan to mimic the liquid from canned cherries.
Q: What kind of milk is best for this recipe?
A: While I prefer 1% milk, any type of milk, including skim, whole, non-dairy alternatives like almond or soy milk, will work in this recipe.
Q: Why is it called a “fat-free” cobbler?
A: This recipe is considered fat-free because it uses no added fats like butter or oil in either the filling or the topping. The leavening comes from self-rising flour, and the moisture from the milk and cherry liquid.
Q: How do I make this cobbler suitable for diabetics?
A: To make this cobbler diabetic-friendly, simply substitute the ¼ cup of sugar with your preferred granulated sugar substitute, such as Splenda.
Q: Can I make the topping gluten-free?
A: Adapting this recipe to be gluten-free would require finding a suitable gluten-free flour blend that can replace the self-rising flour. You would also need to add a leavening agent, like baking powder, as gluten-free blends don’t typically contain it.
Final Thoughts
This Fat-Free Cherry Cobbler is a testament to the fact that comfort food doesn’t need to be heavy. It’s a simple, honest dessert that delivers pure joy without the guilt. Whether you’re looking for a healthier alternative, a quick sweet treat, or a way to use up pantry staples, this recipe is a winner. Give it a try, and I’m confident it will become a cherished favorite in your culinary repertoire. Share your creations, and let me know how you enjoyed this delightful, lighter take on a classic!