
Royal Icing: The Sweet Art of Edible Architecture
There’s a particular magic that happens when simple ingredients transform into something so delicate and precise. My first true encounter with royal icing wasn’t in a bustling professional kitchen, but in my grandmother’s cozy sunroom, where the air was always thick with the scent of baking and possibility. She was meticulously decorating sugar cookies for Easter, her hands steady as she piped intricate lace patterns. I watched, mesmerized, as the seemingly liquid frosting solidified into firm, elegant lines, creating miniature works of art. That’s when I understood: royal icing is more than just a sweetener; it’s a medium for dreams, a foundation for edible masterpieces, and a whisper of tradition in every perfect swirl.
Recipe Overview
- Prep Time: 3 minutes
- Cook Time: 0 minutes
- Total Time: 3 minutes
- Servings: 1 (This is a small batch, perfect for testing or a single project)
- Yield: Approximately 1.5 cups
- Dietary Type: Vegetarian
Ingredients
This recipe calls for just a handful of ingredients, highlighting the power of simplicity.
- 1 large egg white
- 1 ¾ cups confectioners’ sugar, sifted
Chef’s Note: Sifting your confectioners’ sugar is a crucial step. It removes any lumps, ensuring a smooth, lump-free icing that pipes beautifully. For a cleaner taste and a slightly brighter white, opt for superfine confectioners’ sugar if you can find it.
Equipment Needed
While royal icing is simple, a few tools will make the process much smoother:
- A medium-sized bowl
- A whisk (a balloon whisk works wonderfully)
- A spatula or spoon for scraping down the bowl
- Plastic wrap
Instructions
The beauty of this royal icing lies in its almost instantaneous readiness and the very straightforward method of its creation.
-
Prepare the Egg White: Begin by lightly whisking your egg white in the bowl. You don’t want to whip it into a frenzy of foam, but just enough to break up the egg white so it’s a uniform liquid. This initial whisking helps it incorporate more evenly with the sugar.
-
Incorporate the Confectioners’ Sugar: Now, it’s time to add the sifted confectioners’ sugar. Do this gradually, a little at a time, while continuing to whisk. As you add the sugar, you’ll notice the mixture starting to thicken. Keep whisking and adding sugar until you reach the desired consistency.
-
Achieve the Correct Consistency: You are aiming for a softly peaking icing. This means that when you lift your whisk out of the icing, the peaks that form should gently curl over rather than standing stiffly upright or collapsing immediately. If the icing is too thick, you can add a tiny amount of water (literally, a drop or two at a time) and whisk until it reaches the soft peak stage. If it becomes too thin, gradually whisk in more sifted confectioners’ sugar until it thickens.
-
Prevent Crust Formation: Royal icing can form a crust very quickly as it’s exposed to air. To prevent this from happening, cover the surface of the icing directly with plastic wrap as soon as you’ve achieved the perfect consistency. Press the plastic wrap down so it makes contact with the icing itself. This creates an airtight seal and will keep your icing smooth and ready for use until you’re prepared.
Expert Tips & Tricks
Royal icing, while simple, offers many avenues for refinement and creative application. Here are a few insights to elevate your experience:
- Humidity is Your Frenemy: On humid days, royal icing can be a bit more challenging to work with, as it can absorb moisture from the air. You might find yourself needing a little more sugar or needing to work a bit faster. Conversely, in very dry conditions, it can set up too quickly. Be prepared to adjust your sugar or water additions accordingly.
- The Power of a Tiny Bit of Liquid: When thinning royal icing, always use water or sometimes a clear extract like vanilla or lemon. Add it one drop at a time. It’s far easier to add more liquid than it is to salvage icing that has become too thin.
- Consistency is Key for Design: The “softly peaking” consistency described is ideal for outlining and flooding cookies. For intricate details like lettering or fine lines, you might need a slightly thicker consistency. For filling larger areas (flooding), you’ll want to thin the icing slightly with a few drops of water until it flows smoothly but still holds its shape for a moment. A good test for flooding consistency is the “ribbon stage” – when drizzled from a spoon, the icing should fall in ribbons that slowly disappear back into the main body of the icing within about 10-15 seconds.
- Achieving Pure White: While the egg white and sugar will give you a nice white, for a brilliant, dazzling white, consider using a tiny drop of white food coloring or a powdered brightener. Be cautious, as too much can affect the flavor or texture.
Serving & Storage Suggestions
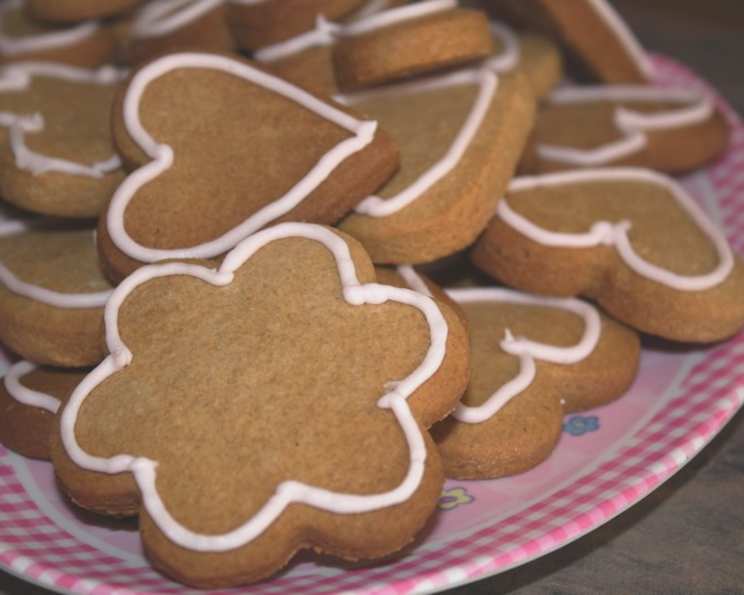
Royal icing is primarily used for decorating baked goods like cookies, cakes, and gingerbread houses. It hardens to a crisp, edible finish, making it perfect for structural elements or delicate surface decoration.
- Serving: Serve your decorated items as is. The beauty of royal icing is its ability to transform simple cookies into edible art.
- Storage: Properly stored royal icing that has not yet been applied to baked goods can be kept in an airtight container. If you’ve covered it with plastic wrap directly on the surface, place that bowl inside another airtight container. It can typically be stored at room temperature for a few days. Before using, give it a good stir to ensure consistency. If it has become too stiff, you can add a drop of water. If you need to store it for longer, it can be refrigerated, but it may seize up slightly; bring it back to room temperature and whisk vigorously. Do not freeze royal icing. Once applied to baked goods, they can usually be stored at room temperature in an airtight container for up to a week, or even longer for very sturdy gingerbread.
Nutritional Information
Below is an estimated nutritional breakdown for this recipe, based on common ingredient values. Please note that these are approximations and can vary depending on the specific brands and sizes of ingredients used.
| Nutrient | Amount per Serving (approx. 1/4 cup) | % Daily Value |
|---|---|---|
| Calories | 350 kcal | 18% |
| Total Fat | 0 g | 0% |
| Saturated Fat | 0 g | 0% |
| Trans Fat | 0 g | |
| Cholesterol | 0 mg | 0% |
| Sodium | 57 mg | 2% |
| Total Carbohydrate | 209.4 g | 69% |
| Dietary Fiber | 0 g | 0% |
| Sugars | 205.8 g | 823% |
| Protein | 3.6 g | 7% |
Note: Daily values are based on a 2,000 calorie diet. Your daily values may be higher or lower depending on your calorie needs.
Variations & Substitutions
While this is a classic, fundamental royal icing recipe, there are ways to adapt it:
- For a Brighter White: As mentioned, a touch of white food coloring can enhance the brightness.
- Flavoring: For a subtle hint of flavor, you can add a teaspoon of clear vanilla extract, lemon extract, or even almond extract to the icing. Be mindful that alcohol-based extracts can slightly affect the stiffness, so add them gradually and be prepared to adjust with a touch more confectioners’ sugar if needed.
- Using Meringue Powder: For an egg-free and more stable royal icing, particularly for humid climates or longer-lasting decorations, you can substitute the egg white with meringue powder. Typically, you would use about 3 tablespoons of meringue powder mixed with 5 tablespoons of water in place of the single egg white. Follow the manufacturer’s instructions for rehydrating meringue powder.
FAQs
Q: Can I make royal icing ahead of time?
A: Yes, you can make royal icing ahead of time. Ensure it is tightly covered with plastic wrap directly on the surface to prevent a crust from forming, then store it in an airtight container at room temperature.
Q: My royal icing has lumps. What did I do wrong?
A: Lumps are usually caused by un-sifted confectioners’ sugar. Always sift your sugar to ensure a smooth consistency. If lumps do appear, you can try pushing the icing through a fine-mesh sieve.
Q: How do I achieve thin lines with royal icing?
A: For thin lines, you generally need a thicker consistency, often referred to as “stiff” or “piping” consistency. This is achieved by using a high ratio of confectioners’ sugar to liquid.
Q: My royal icing is too runny. How can I fix it?
A: If your icing is too runny, gradually whisk in more sifted confectioners’ sugar, a tablespoon at a time, until it reaches the desired soft peak consistency.
Q: How long does royal icing take to dry?
A: The drying time for royal icing can vary significantly depending on the thickness of application, humidity, and air circulation. Thin layers can start to set within an hour, but fully hardened decorations, especially flooded cookies, may take 12-24 hours or even longer.
Final Thoughts
Royal icing is a testament to the fact that sometimes, the simplest recipes yield the most impressive results. It’s a versatile medium that invites creativity, whether you’re a seasoned decorator or just starting to explore the joys of embellishing your baked creations. The crisp finish and adaptability make it indispensable for holiday cookies, elaborate wedding cakes, and charming gingerbread houses. So, gather your ingredients, prepare your workspace, and allow yourself to play with this delightful medium. I encourage you to experiment, to push the boundaries of what you thought possible with frosting, and most importantly, to enjoy the sweet satisfaction of turning simple sugar and egg white into edible art. Happy decorating!